To take full advantage of the GT-100‘s processing power, try experimenting by using the four cable method. This technique allows you to place the GT-100 between the Pre Amp & Power Amp of your favourite Amp.
Contributed by Paul Smyth
Why would I want to do this?
The Send and Return Loop on a Guitar Amplifier is typically used for inserting one or more guitar effects pedals into your signal chain, allowing processing of the signal after the pre amp stage. This is a great way to take advantage of your favourite amplifiers distinctive tone before you start processing it with your favourite effects. The Power Amp section of the amplifier will then take your carefully crafted sonic concoction and blast it at the audience.
The GT-100 is not your typical guitar effect processor. It is a sonic creation powerhouse for guitarists and you would be missing out on so much functionality if you simply just inserted it into the Send and Return loop of your Amplifier. A properly set up Four Cable Method will offer the following benefits.
► Allow you to place your Amplifiers Pre Amp anywhere in the GT-100’s effect chain. You will usually put it at the beginning of the chain but you may want to consider adding a bit of dynamic or equalization processing before the Pre Amp stage and assign your modulations and time based effects after it. Or you can swap or blend the Amplifier’s Pre Amp tone with one of the GT-100’s COSM tones for a richer palette of sounds. The GT-100’s built in programmability will allow you to do this with the Four Cable Method.
►The cable coming from your guitar can still be conveniently plugged into your GT-100 in front of you which keeps things nice and tidy on stage.
Hopefully, you have been convinced about the value of the Four Cable Method so let me explain to you how to set this up.
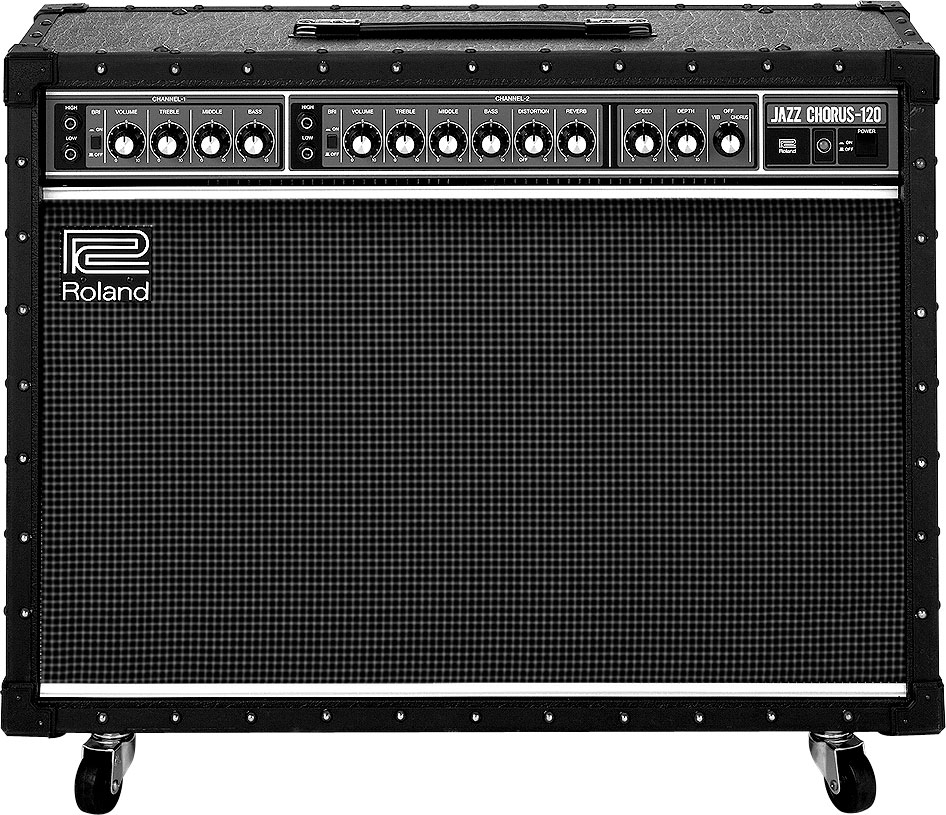
Note: To use this method you need an Amplifier equipped with Effect Send and Return Ports like those found on a Roland JC-120
 What Plugs into Where?
 You will need four suitable guitar cables and these are the connections you will need to make;
1. Connect your guitar to the input of the GT-100
2. Connect the GT-100 Send Socket to the input of your guitar amplifier. The guitar signal will be sent straight to the Pre Amp on your amplifier.
3. Connect the Effect Send Socket on the amplifier to the Return Socket on your GT-100. The ‘pre-amped” signal will enter the effect chain on your GT-100.
4. Connect the GT-100 L/MONO Output Socket to Return Socket on your amplifier. The ‘Effected” signal from the GT-100 will enter the Power Amp section on your amplifier.
What Settings do I make on my GT-100?
You will need to program the Patches you wish to use in your GT‐100 so that the Send and Return Ports are enabled in the effect chain. That will allow the signal to pass through your Pre Amp on your Amplifier before being processed by the GT‐100’s Effects. These are the steps you need to perform;
 1. Select the Patch that you wish to adjust on your GT-100.
2. Press the EFFECT Button to enter the Edit Mode for the selected Patch.
3. From the Left Screen on your GT-100, turn Knob 4 (the SELECT Knob) to find and select the Send / Return option in the selected Patch. You will see it on the Left Screen as a Dot with an S/R label below it.
4. Use Knob 1 on the GT-100 to move the S/R Dot to the very beginning of the effect chain by turning it anti-clockwise. This will ensure that the guitar signal will go straight to the Send Port before it passes through any of the GT-100’s effects.
5. Using the Right Screen, use Knob 5 to change the MODE to NORMAL. This will send the entire guitar signal to the Send Port and receive the signal back from the Amplifier after it has passed through its Pre Amp. Adjust the SEND LEVEL (Knob 7) and RETURN LEVEL (Knob 8) to optimise the guitar signal. It is best to have the Amplifiers Gain and Volume settings set to how you have them during a typical performance to assess the guitar signal properly during this step.
6. Now you can continue programming the GT-100 Patch to include the effects that you want to use for your performance. You may want to experiment with the positioning of the S/R Dot so that you can put the guitar signal through a GT-100 effect prior to it being sent to the Pre Amp on the Amplifier.
7. Don’t forget to save your Patch after you have finished editing (see page 30 of your User Manual for details on how to do this).
Give this setup a try and let us know how you get on with it!
Related Article
The 4 Cable Method (4CM) – What It Is and How To Use It Correctly
Related Products
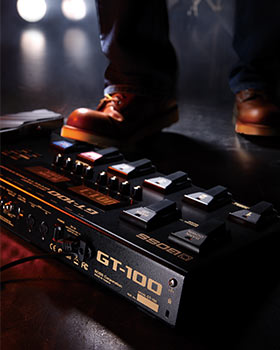
Mega Multi-FX with Next-Generation Amp Modeling.
Jazz Chorus.